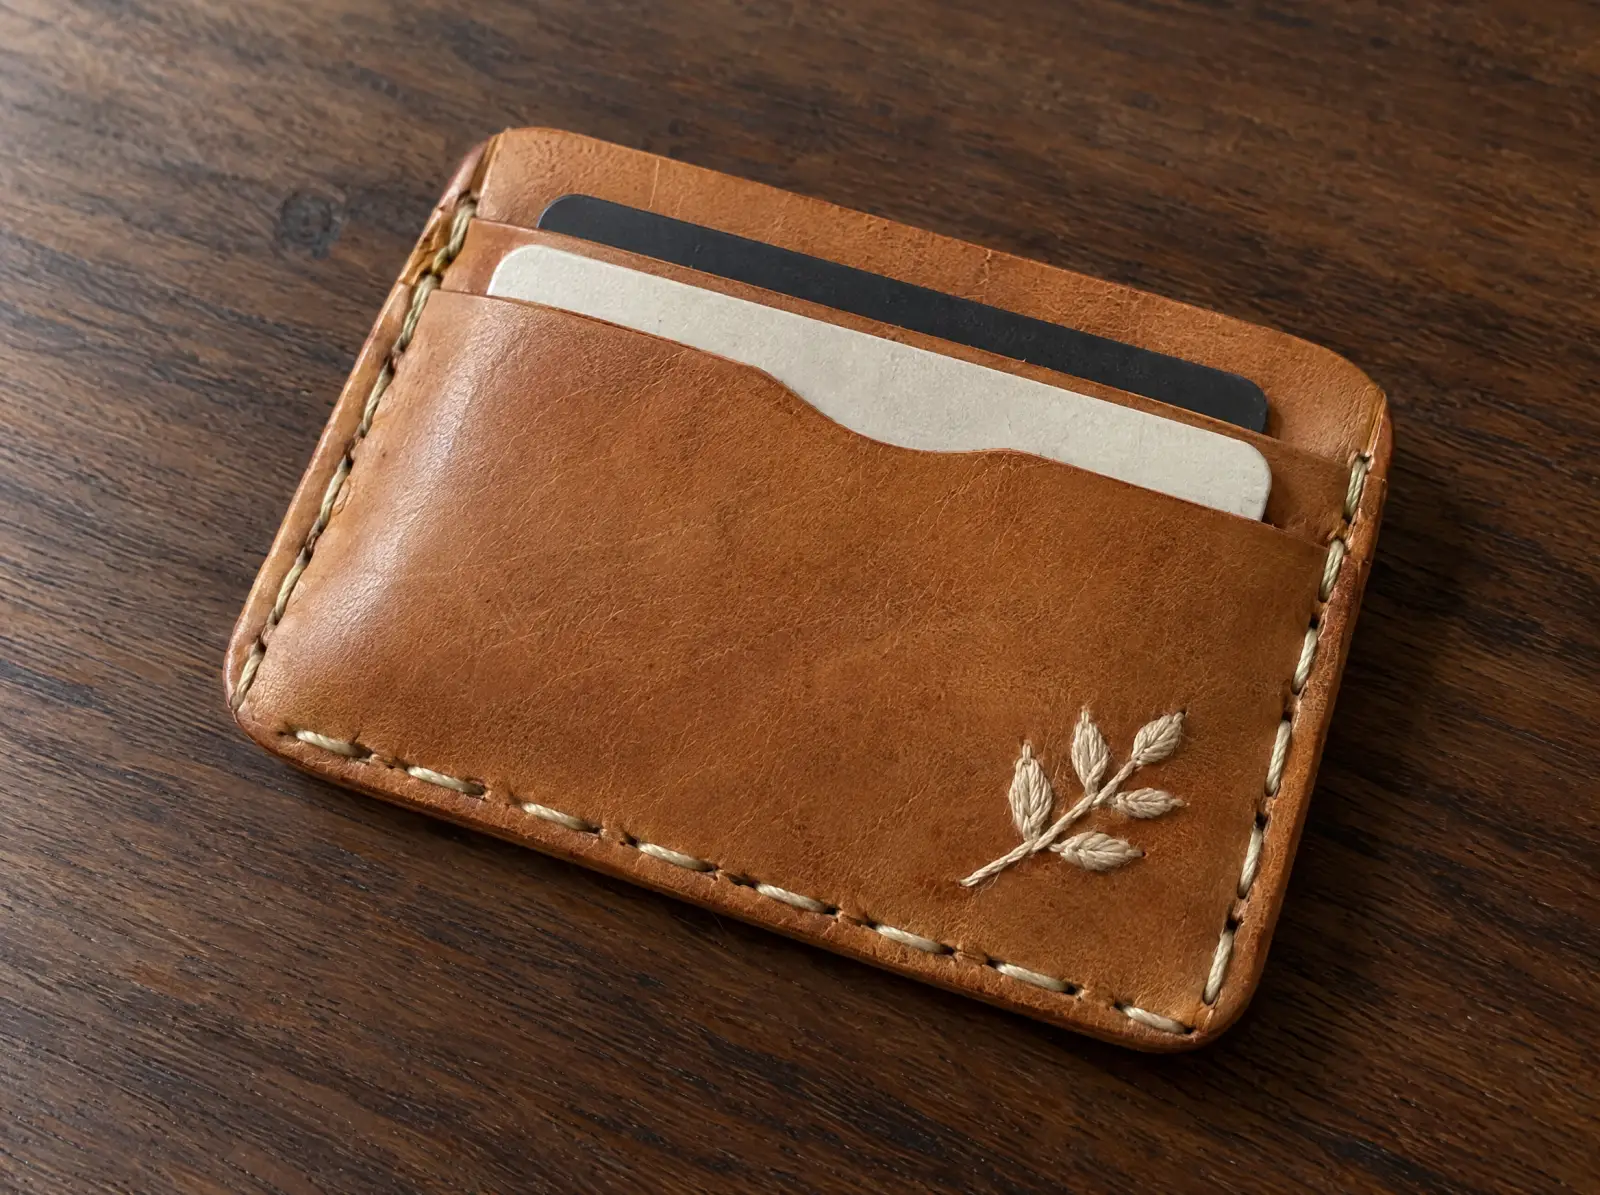
Why is embroidery on leather different?
On a woven or knit fabric the needle pushes fibers aside and they close again around the thread. Leather is a solid skin: every penetration is a hole that stays. That changes the whole approach:
- Holes add up. Madeira warns that high-density designs are prone to perforating leather. Gunold, a thread maker, puts it plainly: too high a stitch density can weaken the leather and cause it to tear.
- Mistakes cannot be unpicked. Removing stitches leaves the holes behind, so a misplaced design ruins the panel.
- Hoop marks stay. Clamping leather tightly in a standard hoop can crush or mark the surface, which Gunold also warns about.
So leather design work is mostly about restraint: fewer stitches, placed where they do the most work.
How is a design digitized for leather?
The same logo digitized for a twill jacket needs real changes before it goes on leather:
| Setting | On woven fabric | On leather |
|---|---|---|
| Density | Standard for the thread weight | Opened up, so fewer penetrations per inch |
| Underlay | Full edge run and zigzag or fill underlay | Used sparingly, as Gunold advises: leather is stable and needs little support |
| Stitch length | Short stitches acceptable | Longer stitches where possible; clusters of very short stitches punch the surface |
| Satin columns | Dense, any width the design needs | Kept moderate; dense satin along a line can cut out the shape like perforated paper |
| Design style | Fills, satin and detail | Open designs, outlines and lighter fills |
| Small lettering | Down to the fabric limit | Larger; Groz-Beckert lists lettering that is too small as a cause of poor results on leather |
Pull compensation can usually be reduced too, since leather does not draw in the way a knit does. How the three settings interact is covered in stitch density and embroidery underlay. None of these changes can be made to a DST after export; the file has to be rebuilt from the working design.
Which needle should you use for embroidery on leather?
This is where embroidery differs from sewing leather goods. Leather sewing often uses cutting points, but Groz-Beckert, the needle maker, says in its embroidery needle guide that cutting points are not suited to embroidering leather: they cause thread cutting, perforation and uneven holes when the stitch direction changes. Its recommendations:
- RG point (round point with a small ball) for delicate to medium-hard leather.
- R point (normal round point) for very hard leather.
- A strong blade. Piercing leather takes relatively high force, so the needle has to be stable. Groz-Beckert makes a reinforced special application needle, the DB x K5 SAN 1, for sturdy materials such as caps and leather.
Madeira lists leather among the heavy materials that call for a sharp rather than a ballpoint needle. Some suppliers still sell cutting-point needles for leather embroidery, so test on a scrap of the same hide before a run.
What stabilizer and hooping work for leather?
- Backing: Madeira recommends a tear-away backing for both leather and faux leather. Leather is stable on its own; the backing supports the design while it sews.
- Frame, not a tight hoop: Madeira pairs leather with a clamping type hoop. Many shops use magnetic frames, or hoop only the backing and fix the leather to it with an adhesive backing or temporary spray, so the surface is never squeezed.
- Speed: Gunold suggests running leather slower than normal production speed.
- Test first: sew the design on an offcut of the same leather. Thickness and finish vary between hides, and a test piece is the only safe place to find out.
Is faux leather embroidered the same way?
Mostly, yes. Madeira groups faux leather and vinyl with leather: tear-away backing, and limit high-density designs, which are prone to perforating the material. Coated fabrics can tear along a line of close holes just as real leather does. Two differences to plan for:
- Thin vinyl has less strength than a hide of similar thickness, so it tolerates even less density.
- Knit-backed faux leather can stretch, so check the back: a stretchy base may need a cut-away backing and a little more pull compensation.
For other heavy materials, compare embroidery on denim, which takes much more density, and the summary table in the embroidery by fabric guide.
How do you check a leather design before sewing?
Because every hole is final, check the file on screen first. Open it in our free DST file viewer and look for dense satin borders, stacked objects and lettering too small for leather. If the file was built for fabric, our embroidery digitizing service can rebuild it with leather density and underlay, hand digitized and checked by a second digitizer, with a stitch simulation preview before anything touches the hide.
Rather have it digitized for you?
Hand-digitized files from $10 per design, back in 4–8 hours, in every machine format.
Get a free quote →Frequently asked questions
Sources
- Groz-Beckert: machine needles for single and multihead embroidery (leather recommendations)
- Madeira USA: E-Zee Guide to choosing backings (leather, faux leather and vinyl)
- Madeira USA: Professor T.H. Read, choosing the correct needle
- Gunold: tips for embroidering leather
Sources checked 19 September 2026.